Your Kilimanjaro Journey Starts He
Setting out on an expedition raises many questions.
“How fit do I need to be?”
“How will I get the gear?”
“Am I even cut out for this?”
Here’s what you need to know before you go. And a heads-up: some of the most common mistakes climbers make involve what they don’t need to bring. We’ll cover that later—but keep it in mind as you read.
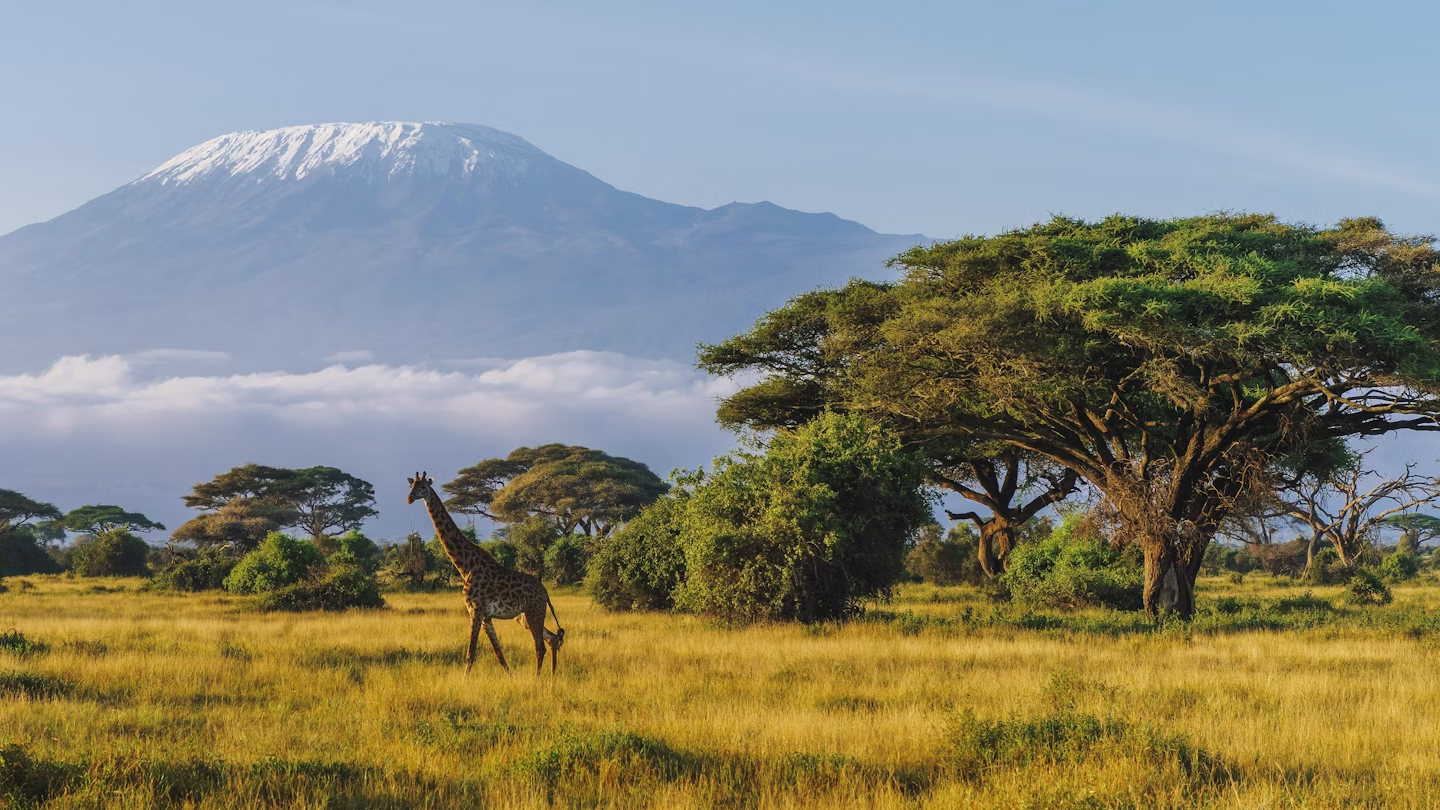
The summit of Uhuru Peak—standing at 5,895 meters (19,341 feet)—is unforgettable. As the tallest free-standing mountain in the world, making your way to the top offers both a challenge and a chance for adventure every step of the way.
Five Climates, One Mountain
You will travel through five distinct climate zones on your way to the summit:
● Cultivation Zone – Warm farmland at the base
● Rainforest Zone – Dense, humid forest with monkeys and birds
● Heath and Moorland Zone – Open landscapes with giant plants like lobelias
● Alpine Desert Zone – Barren, moon-like terrain with extreme temperature swings
● Arctic Zone – Icy, snowy conditions near the summit
These climate changes present a unique challenge. Layering your clothing is non-negotiable. There will be times when you need to add or remove items like a hat, a fleece, or a shell jacket on the fly. You won’t have time to swap out your entire wardrobe between zones.
Physical Preparation: What It Takes
Better fitness means a more comfortable climb, but you don’t need to be an elite athlete to reach the summit. To be physically capable of a Kilimanjaro trip, you should be in “good” or “average” physical shape. If you’re comfortable with prolonged hill-walks or do cardiovascular exercise a few times a week, you’re in good condition.
If you’re worried—and serious about making it—start your training 3-6 months in advance. Go hiking with a pack. Add swimming or cycling to your daily routine.
If you can complete a full 6-7 hour hike with an ascent of around 1,000 meters (3,280 feet), you are on the right path. But remember: the challenge of this trip will vary based on which route you choose, and regardless of your choice, you will be doing those 6-7 hour hikes every day, back to back. It’s easy to make it through one day, but that same day stacked on top of itself adds up quickly.
No matter what you choose, remember: it’s a marathon, not a sprint.
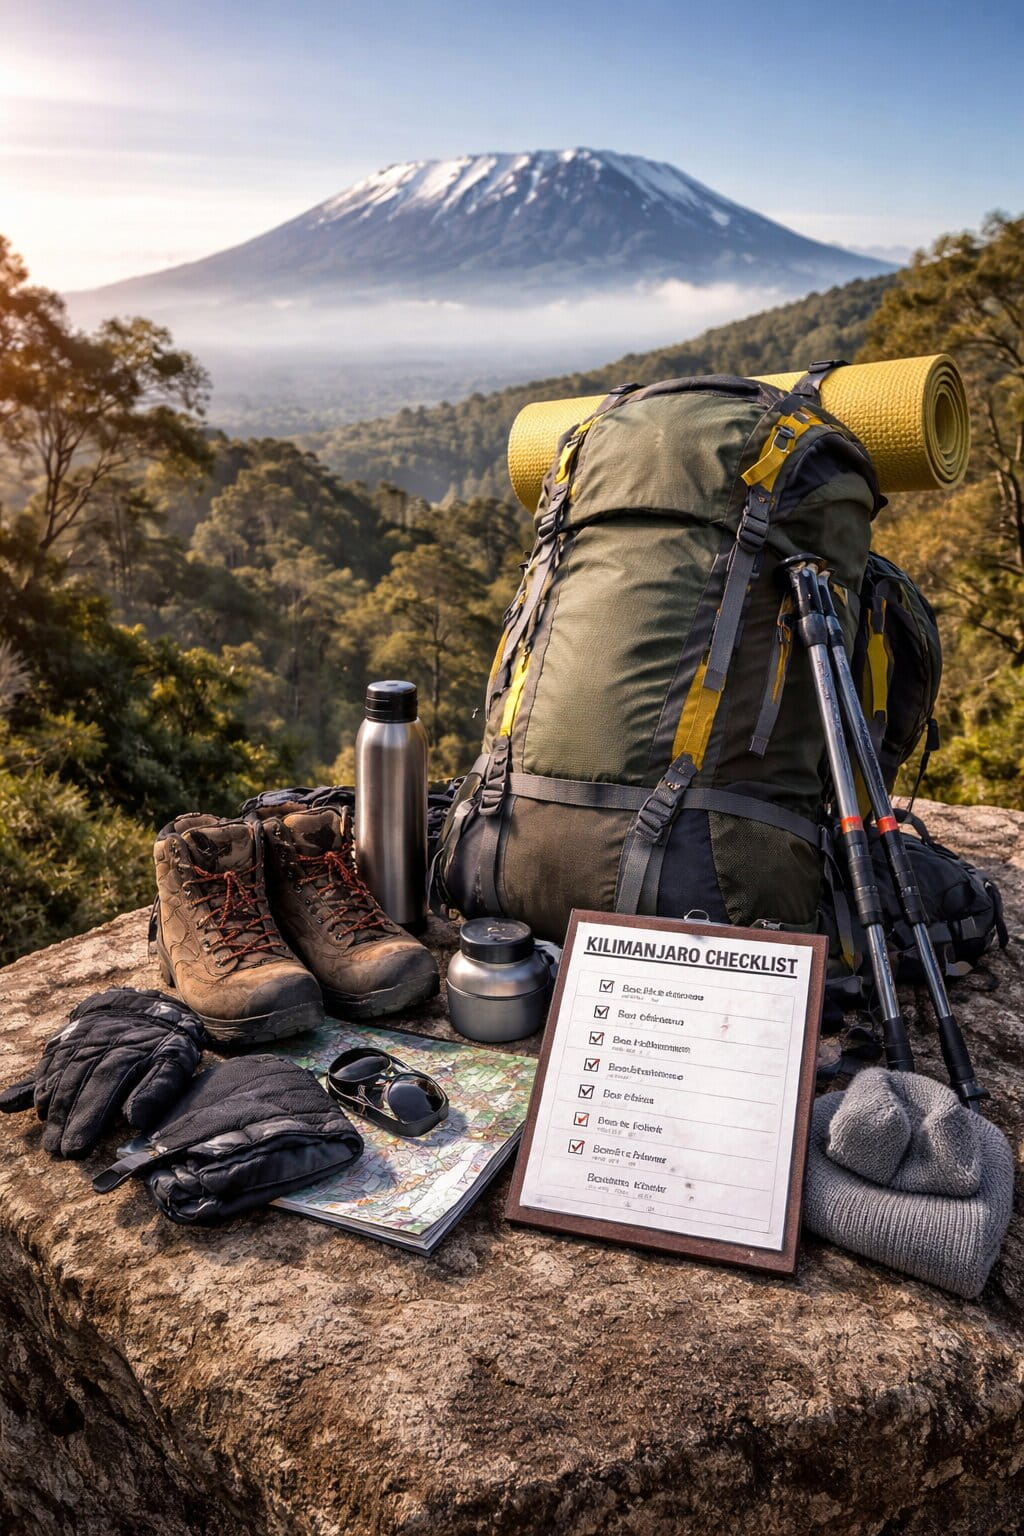
Gear: How Your Route Changes What You Pack
In terms of gear, this is where your choice of route starts to matter.
The Marangu Route (Hut Accommodation)
The Marangu route is the only path with huts. You’ll sleep in A-frame huts with bunk beds at Mandara, Horombo, and Kibo. No tent needed.
You still need:
Sleeping:
● Sleeping bag rated to -10°C / -15°C (huts provide bunks and mattresses, but no bedding)
● Sleeping bag liner (adds warmth and hygiene in shared huts)
Clothing layers:
● Thermal leggings
● 2-3 merino wool or synthetic tops
● Lightweight puffy jacket
● Fleece
● Waterproof and windproof outer jacket and pants
● Trekking pants (2 pairs)
● Convertible pants OR shorts (1 pair)
What you DO NOT need for Marangu:
● Tent (provided in huts)
● Sleeping mat (provided in huts)
● Cooking equipment (meals provided)
The Machame Route (Camping)
The Machame route—nicknamed the “Whiskey Route”—is a camping route with tents every night. You’ll cross diverse terrain including the famous Barranco Wall.
Sleeping:
● 4-season sleeping bag rated to -15°C or colder (tents are colder than huts)
● Sleeping bag liner
● Inflatable pillow (optional but nice)
● Insulated sleeping pad with R-value of 4 or higher
Clothing layers:
The same layering system as Marangu—base, insulation, shell—but with extra attention to summit-night warmth. The difference isn’t the summit itself; it’s that on Machame you wake up in a freezing tent rather than a (slightly) warmer hut. Your gear needs to get you from zero to moving without a warm space to start in.
This means:
● A heavier down jacket, more like an expedition parka
● Thick, insulated, waterproof mittens (not just gloves)
● Liner gloves to wear underneath
● Hand warmers. Bring more than you think.
Essential gear:
● Trekking poles (essential for steep sections and the Barranco Wall)
● Gaiters (highly recommended for scree on summit day)
● Headlamp with fresh batteries and spares
● Water bottles or hydration bladder (3L minimum)
● Camp shoes or booties (tent floors get cold)
Bag situation:
● Main duffel (soft-sided, 15kg max) goes to porters
● Daypack (30-40L) for water, snacks, layers, camera
What you DO NOT need for Machame:
● Cooking equipment (meals provided)
● Tent (provided—your operator sets these up)
The Other Routes: Lemosho, Rongai, Northern Circuit, Umbwe, Londorossi
If you’re looking at the other routes, here’s the short version: gear-wise, they’re all essentially the same as Machame.
The differences come down to duration and difficulty, not the actual items you pack. The routes differ in scenery, traffic, and difficulty, but if you’ve packed for Machame, you’ve packed for all of them. The only variable is how many days’ worth of snacks and battery power you bring.
Lemosho, Londorossi, and the Northern Circuit are all longer (7-9 days). That means:
● Bring a larger power bank (20,000mAh+)
● Pack extra snacks—things you actually want to eat, not just energy bars
● Maybe bring a book or a deck of cards. More evenings in camp means more downtime.
Rongai (6-7 days) is drier, starting from the north. Gaiters still help with dust, and you still need the same cold-weather gear. Nothing changes except maybe less mud.
Umbwe (5-6 days) is steep and fast. The gear list is identical to Machame, but you need to be absolutely sure your boots are broken in and your fitness is solid. This route doesn’t give you time to ease into things.
What Everyone Needs (Regardless of Route)
Before we get into checklists, here are the non-negotiables that apply to every single climber on every single route.
Documents
● Passport (valid 6+ months)
● Travel insurance that specifically covers high-altitude trekking (this is mandatory—operators will check)
● Cash in USD or Tanzanian shillings for tips and souvenirs. Tips for guides and porters typically run $250-350 per climber, so plan for that.
Health and Hygiene
● Sunscreen SPF 30 or higher. The equatorial sun at altitude is brutal.
● Lip balm with SPF
● Basic first aid kit with blister care, painkillers, antiseptic
● Any personal medications. Talk to your doctor about Diamox for altitude sickness.
● Wet wipes. There are no showers on most routes. Accept this now.
● Hand sanitizer
● Toilet paper in a ziplock bag. Camps have pit latrines but TP isn’t guaranteed.
Hydration
● Reusable water bottles or hydration bladder with 3L capacity minimum.
● Electrolyte tablets or powder
● Water purification tablets as backup
At higher altitudes, you need to drink 4-5 liters per day. Dehydration accelerates altitude sickness. Your body can’t acclimatize properly if you’re not drinking enough.
Small Things That Matter
● Sunglasses with UV400 protection (glacier glasses are ideal—snow blindness is real)
● Sun hat with a brim
● Warm beanie that covers your ears
● Neck buff or gaiter
● Ziplock bags in various sizes for organizing gear and keeping things dry
● Power bank (10,000mAh minimum, 20,000mAh for longer routes)
● Earplugs (camps and huts can be surprisingly noisy)
What NOT to Bring (Any Route)
Some things seem like good ideas but aren’t. Save yourself the weight:
● Cotton clothing. Any of it. Cotton retains moisture and causes chills. You want merino wool or synthetics only.
● Heavy suitcase. Porters carry soft duffels. Wheels don’t work on trails.
● Alcohol. It impairs acclimatization and is illegal in the park anyway.
● Expensive jewelry. Just leave it home.
● Drone. Prohibited. If you bring one, park rangers will confiscate it and you’ll pay a fine.
● Laptop. No reliable charging, extra weight, security risk.
● Single-use plastics. Many operators now discourage these. Bring reusable bottles instead.
A Simple Training Reminder and Final Thoughts
We covered fitness earlier, but it’s worth repeating: start 3-6 months out. Hike with a pack. Do stairs. Get comfortable with consecutive days of effort.
The fittest person on the mountain isn’t guaranteed to summit—altitude affects everyone differently—but a prepared body recovers faster, handles cold better, and gives you one less thing to worry about. Even elite athletes can struggle above 4,000 meters. The key is pacing, hydration, and listening to your body.
Standing on Uhuru Peak at sunrise, watching the sun spill across Africa from 5,895 meters, is worth every step. It’s worth the training, the gear decisions, the cold nights, the early mornings.
The mountain doesn’t care who you are or what you’ve accomplished. It asks one thing: that you show up prepared. If you pack smart, train consistently, and listen to your body and your guides, you give yourself the best possible shot at that sunrise.
Remember, your guides and porters are the reason you can attempt this climb. They help make this whole experience possible, so treat them with respect, tip fairly, and say thank you.
The Swahili mantra “pole pole” (slowly, slowly) is associated with Mount Kilimanjaro for good reason. Take it slow. Drink lots of water. This is not a test of how fast you can make it, but instead a test of how present you can be with your environment.